


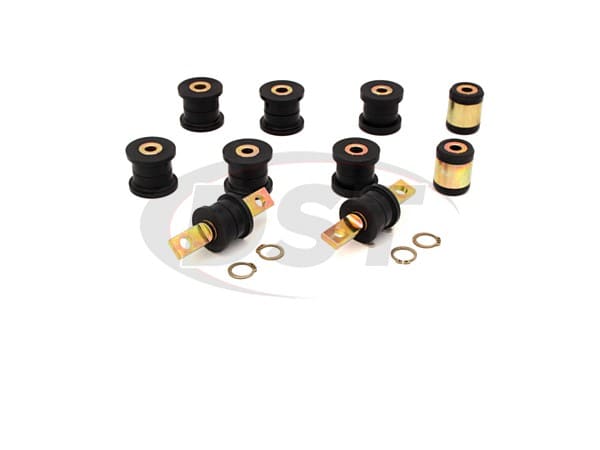
unarchive In The Box of 16.3118 keyboard_arrow_down
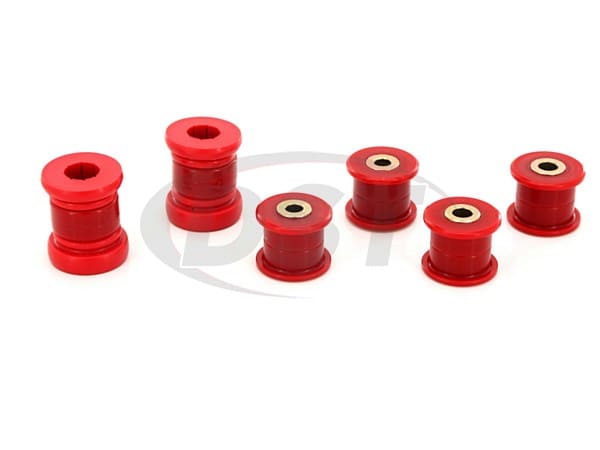
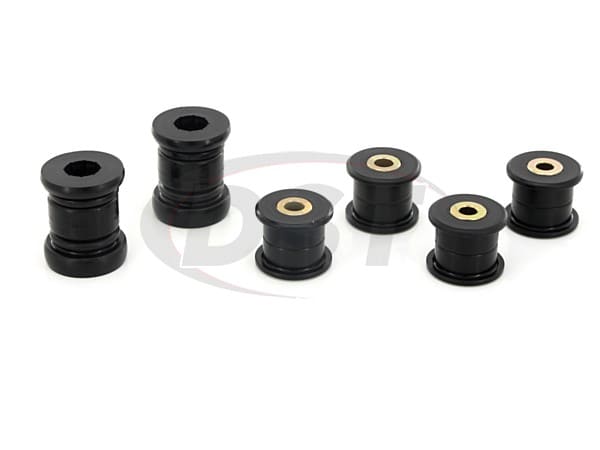
- 2 - 3421 Main Bushing Halves
- 2 - 3423 Main Bushing Halves
- 2 - 3422 Main Bushing Center Piece
- 8 - 2510 Steering Knuckle Bushing Halves
- 4 - Center Metal Sleeves for 2510
- Formula 5 Prelube Tubs
- 1 - Installation Instructions #17359
add_shopping_cart Suggested Parts 1keyboard_arrow_down
Replace the front suspension bushings at the same time to restore handling from the front to the back of the vehicle.
lock Warranty Information keyboard_arrow_down
- Energy Suspension warrants its products against defects in workmanship and material for 24 months when used on passenger cars and light trucks. Products that have been abused, altered, or incorrectly installed are not covered. Energy Suspension will replace defective products or component parts, if inspection for factory personnel determines the part to be defective. Warranty replacement covers only the product. Labor claims, time loss, or freight charges will not be honored.
shuffle Cross References 2keyboard_arrow_down
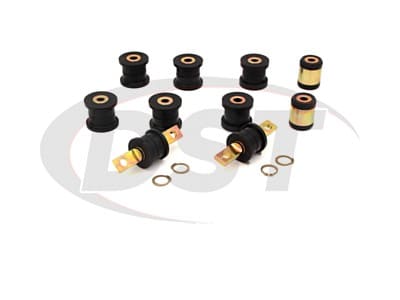
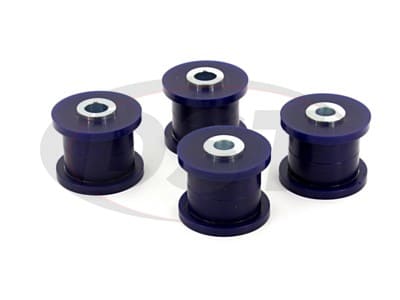
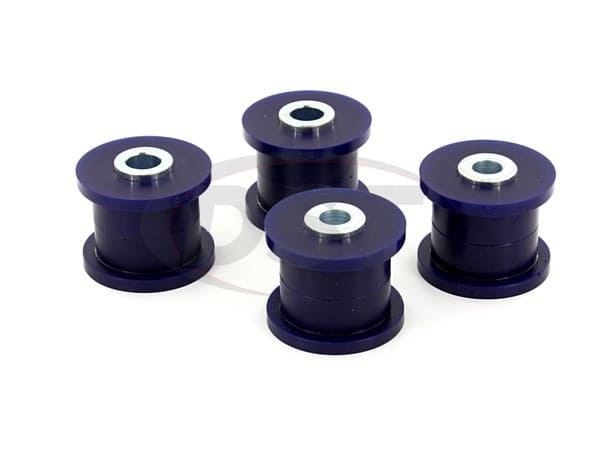
Polyurethane. More comprehensive kit. Covers points that the Energy Suspension kit does not cover.
Price: $132.92
Warranty: Lifetime Warranty
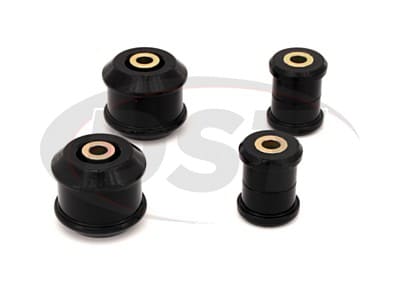
Polyurethane.
Price: $89.99
Warranty: Lifetime
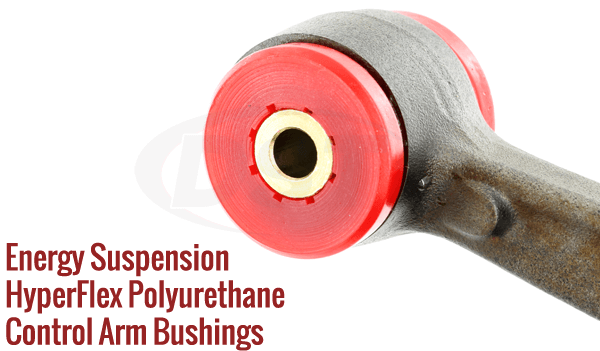
HyperFlex Control Arm Bushings
A control arm bushing plays a vital role in a suspension. Replace that faulty O.E. rubber bushing with an Energy Suspension Hyperflex control arm bushing. These polyurethane bushings provide the longevity and performance needed to maximize a suspension's efficiency. Energy Suspension's Hyperflex polyurethane is a firmer bushing than the O.E. Not only does this increase the longevity of the bushing but gives the suspension a boost in handling performance. With a firmer bushing, there will be a slight increase in NVH (noise, vibration, and harshness), but most drivers prefer the boost in performance in spite of that.
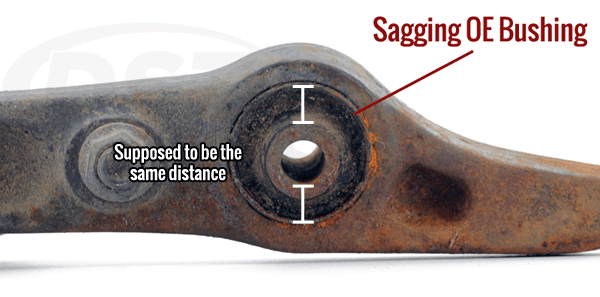
The Faulty O.E.
As your suspension travels, a rubber control arm bushing is repeatedly stretching and flexing. After a while, the center sleeve begins to sag and your suspension alignment is throw out of whack. The sagging will go on until the rubber fails completely.
Be sure to use Formula 5
A control arm bushing rotates a lot against the metal shell, so make sure you grease it well with Energy Suspension's own Formula 5 Bushing Lubricant. Using plenty of grease is the best way to ensure a long lasting part without any squeaking. If you'd like some extra grease just in case, pick up an extra 3 pack or an 8 ounce tube.
Product Reviews for 16.3118 | Rear Control Arm Bushing Replacement Kit | Civic 01-05
- 5 Star (2)
-
-
- 100%
-
- 4 Star (0)
-
-
- 0%
-
- 3 Star (0)
-
-
- 0%
-
- 2 Star (0)
-
-
- 0%
-
- 1 Star (0)
-
-
- 0%
-
Energy Suspension 16.3118
starstarstarstarstar" Like night and day. "
I have put quality lowering springs and sway bars on my civic and always felt like it was missing something. I found it in the front and rear control arm bushings. What a major difference in the feel and performance. Like night and day. Extremely happy with the results, just wish I had done it sooner. Thanks for the fast service!
verified_user Verified Buyer - Bryan Collins - . Energy Suspension 16.3118 - 5 out of 5starstarstarstarstar" Performs great "
Great bushings and my rear suspension feels great.
verified_user Verified Buyer - JOHN KAMAU - . Energy Suspension 16.3118 - 5 out of 5DST's DIY Installation for 16.3118 Energy Suspension
Honda Civic 2001-2005 and Honda Civic SI 2002-2005
Need help installing your new rear control arm bushings? (Energy Suspension part number 16.3118) Here's a DIY for 16.3118 - Thank you Robert Clark for providing DST with this content!
Here's the tools you will need:
- 1 jack
- 2 jack stands
- A socket set, 1/4", 3/8", and 1/2" socket wrench and standard size sockets
- 1 butane propane torch, lighter fluid, or anything that can melt rubber
- An adjustable wrench
- C-clamp
- Vice attached to a bench (preferable)
- Flat head screwdriver
- Hammer or mallet
- Air tools would also be helpful
Parts you will need:
- Energy Suspension bushings (hopefully purchased from DST)-16.3118
- 1 foot long rod that will fit through bushing holes and can have a nut screwed onto it
- 1 large washer that can fit over the long rod and can fit over the bushing
- 1 smaller washer
- Grease (usually supplied with bushings)
Step 1
- Jack up both sides of the vehicle and place on jack stands. Remove the rear wheels.
- Detach the endlink from the control arms or the sway bar (hold with the 5mm Allen wrench on the inside and use the socket on the outside to loosen).
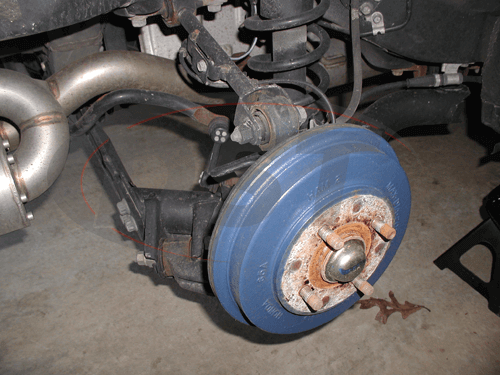
- There are 5 bolts for the control arm, loosen them in this order and leave them attached until you are able to loosen all of them: Loosen 2 bolts that hold the control arm to the brake hub. Make sure you have something to prop up the brake so the brake line doesn't break. Next, Loosen the 2 bolts underneath the rear jack point. Finally, loosen the bolt that holds the control arm to the subframe (the one you can see from the back of the car).
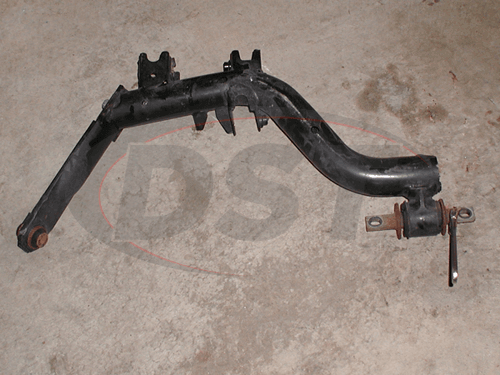
Once all of the bolts are loosened, remove all bolts, but keep track of what bolts go where. The control arm is now out.
Step 2
There are 3 bushings-2 attached to where the brake hub is and the one that is attached to the frame of the car (near the jack point). Start with the bushing near the rear jack point.
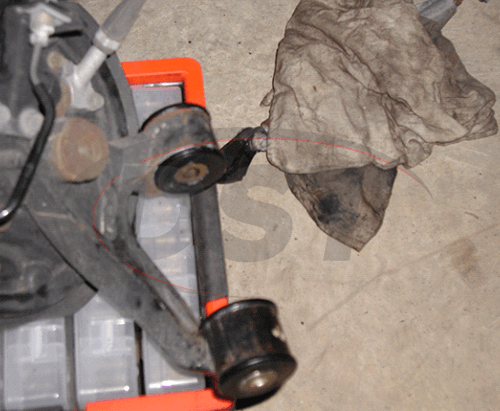
- You have to "break" the two handles out because they are glued in. The best way to do this is to put one side in a vice grip and grab the other one with an adjustable wrench.
- After they "break" you will have to wiggle them until they come out.
- After those pieces are out you will need a butane/propane torch to melt the glue and/or burn the rubber out enough until you can bang it out. Once it starts to loosen, insert a flat head screwdriver and hammer it out.
- Once the bushing is out, clean the inside of the hole.
Step 3
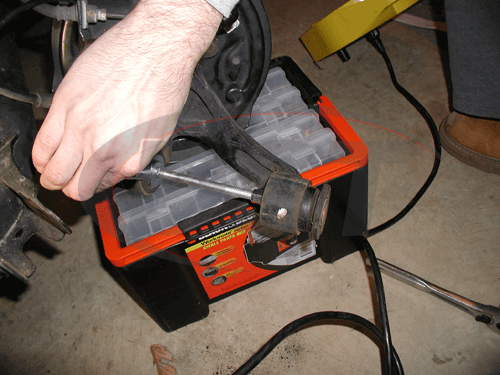
Now we move on to the other bushings. This is where you will need the threaded rod, nuts and washers.
- Insert the threaded rod through one bushing. Before you get to the other bushing, add the smaller washer and the small nut.
- Screw the smaller nut towards the bushing you just put the rod through. Add the larger nut to the other end and screw it all the way on and place that end on the other bushing.
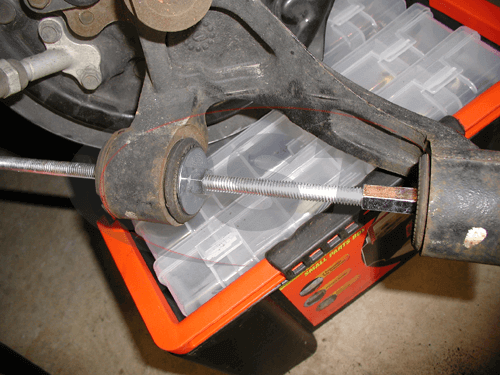
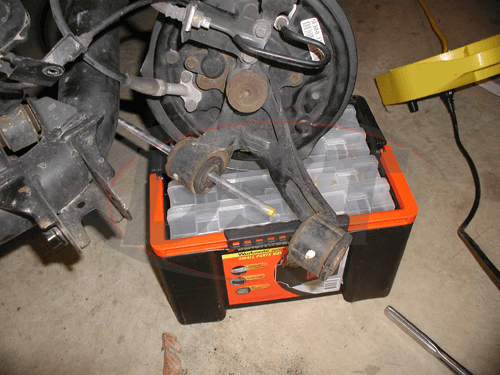
Step 4
- Screw the nut next to the washer to push he other bushing out.
- Repeat on the other side, but use the larger washer to fit over the bushing hole.
- Clean the holes.

Step 5
Now it's time to insert the bushings. Lets start with the brake hub bushings. The bushings are the same but the inside middle piece is different. You have to match the right metal insert with the right screw or you will be forced to redo them. Make sure you follow the instructions.
- Grease up the bushings and insert them. Insert the metal insert (you might need a c-clamp to get it all together).
Step 6
There are 3 pieces for the bushing that attach to the near the jack point.
- Grease up the middle piece and insert it.
- Grease up the outer two and stick in the handles. Make sure to attach the handles in a way that will make it easy to screw into the car.
Put everything back together and don't forget to torque everything down to spec. You are done installing 16.3118!
compare_arrows Compare with Similar Parts
($30.82) more expensive
- starstarstarstarstar1
- More comprehensive kit. Covers points that the Energy Suspension kit does not cover.
- Bushing Material: Polyurethane
($12.11) cheaper
- star_borderstar_borderstar_borderstar_borderstar_border
- Bushing Material: Polyurethane
question_answer Customer Questions and Answers
- Question:
- I recently purchased the rear control arm bushings 16.3118 for my 2001 Honda Civic and I am trying to install them myself but I am having difficulty removing the sleeve/pin on the control arm. Can you provide some suggestions to remove those flanges?
- Answer:
- OEM BUSHING REMOVAL �Using all-thread, nuts, and washers, remove the two bushings from the knuckle assembly (A). (see picture 1 below) �To remove the pin assembly from the front of the trailing arm (C), put the (shell side) pin in a vise. To avoid d damaging the pin, use a large adjustable wrench and rotate the pin until it comes out. You only need to remove the one pin from the sleeve, leave the other-side pin pressed in. �Using heat, remove sleeve/pin assembly from the rubber bushing. �Using a pair of pliers, remove old rubber bushing remains from the trailing arm. Remove any burrs on the inside of the trailing arm and knuckle assembly. ...see more
- Question:
- Does this come with new hardware?
- Answer:
- No, with part number 16.3118 you will need to reuse the old hardware.
